One of the main reasons I started getting into crafts was to make gifts for other people. Over the last year or two I’ve made a few things as gifts for members of my family. A couple of candles, a few brooches, nothing particularly adventurous.
This year I’ve had a couple of requests from my mum and my nanna to make some candles. My mum wanted a nice teacup candle for my great-aunt and my nanna wanted a simple container candle for a friend of hers.
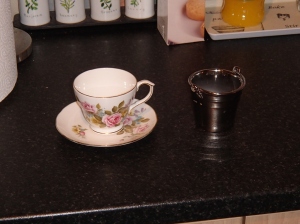
This is what I started off with, two empty containers. Can’t say I’m a big fan of the bucket thing my nanna picked but it doesn’t matter what I think about it.
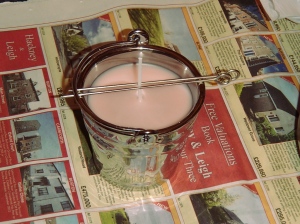
 The candle for my nanna was simple enough. I just made a plain candle with blended container wax, a bit of colour and faux-Jasmine fragrance.
 For the teacup I decided to do something a little different. I’ve had this idea for a while now but never got round to trying it out. I thought I should try embedding a shape within the top surface of the candle. I’m not the first person to do this obviously but it’s not something you see very often. Most candles I’ve seen with embedded shapes have them on the sides but obviously that’s not really an option when using an opaque container.
First thing I did was get my chosen shape ready which in this case was a heart. I used some of the same wax from the other container I made and poured it into a biscuit cutter sealed at the bottom with blu-tac.
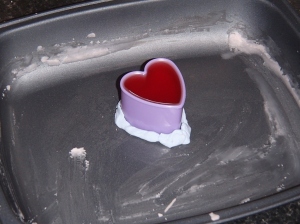 The tricky part was then marking out where the wick was going to pass through the heart. When the wax was setting I stuck a skewer through the soft wax and left it in there while it set. When it had cooled I removed the skewer and started getting the cup ready for assembling the candle.
After fixing the wick in place with a glue dot I melted a batch of plain wax and put a little in the bottom of the cup and let it start to cool. After it had skinned over I threaded the heart over the wick, pressed the heart into the gooey wax then topped up the cup with the plain wax to the level of the heart.
 After it had cooled and been tidied up a bit, this is the finished product.
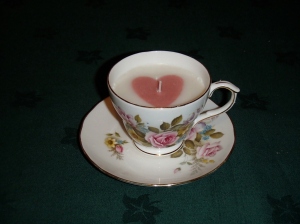 I’m really quite pleased with how it turned out but I’m not 100% sure I got the right amount of scent in there. Although there wasn’t an especially overwhelming cold throw it still might end up being a bit strong. I have a feeling it’s probably going to be used for decoration rather than being lit so a pleasant cold throw is probably sufficient.
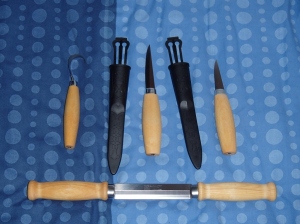 All of them are from Morakniv of Sweden. Shown in the picture is a no.164 hook knife, 106 sloyd knife, 120 wood carving knife and 220 drawknife/splitter.